Europe, USA & Rest of the World
Real people, real feelings
News, updates & Free Patterns
Buy with confidence
Stitchdoodles Hand Embroidery Video Library
StitchDoodles videos can be a helpful resource for learning hand embroidery techniques as they provide visual demonstrations that are often easier to understand than written instructions. If you have any questions or need guidance, the provided videos can be a valuable tool to assist you in grasping the concepts and techniques involved in hand embroidery.
Created by the Royal School of Needlework
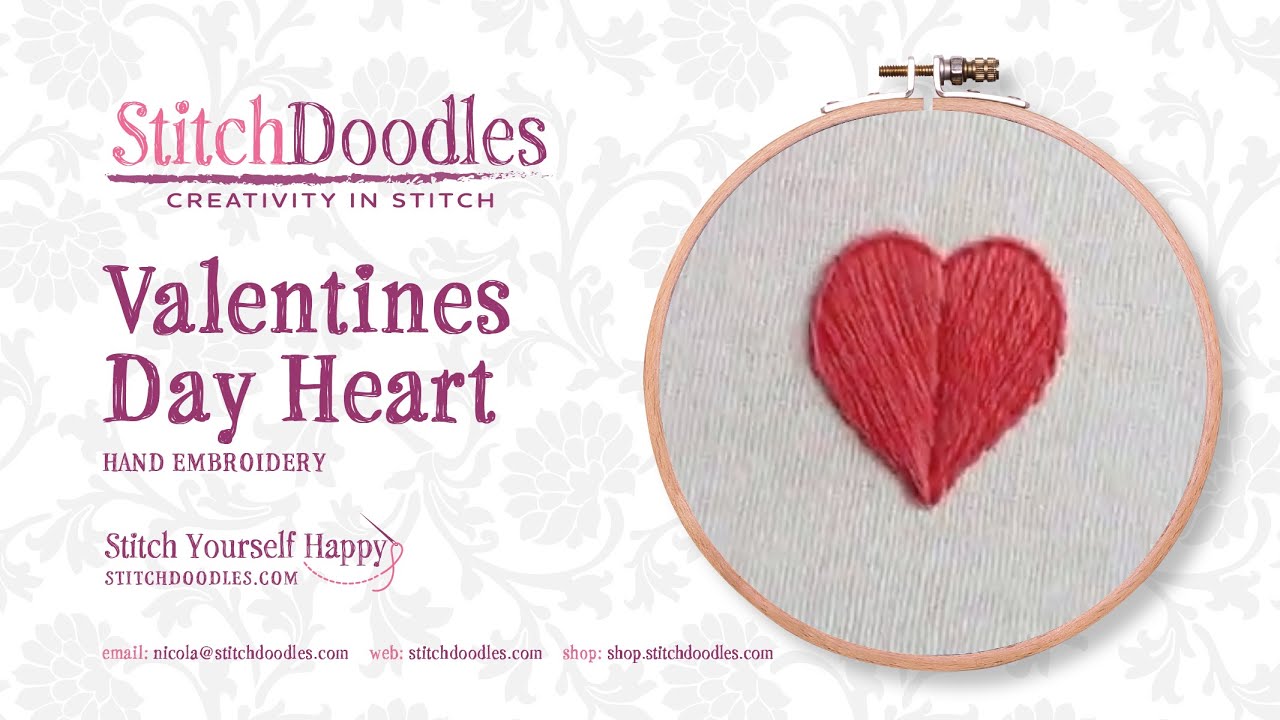
 play_circle
 play_circle
 play_circle
 play_circle
 play_circle
 play_circle
The RSN Stitch Bank
The Royal School of Needlework has created the RSN Stitch Bank to mark its 150th anniversary and continits founding mission to preserve the art of hand embroidery.
The Royal School of Needlework (RSN) is compiling the world's largest repository of stitches, RSN Stitch Bank, and aims to digitally conserve and preserve every stitch around the globe. There are currently 250 stitches, with more being added all the time. Every year, stitches are lost as they fall out of use or through general wear and the age of the object. Textiles also continue to be threatened by
changes in manufacturing processes and more aggressive issues of war, neglect and destruction.
Created by the Royal School of Needlework
Chain stitch
Chain stitch is a basic embroidery technique that involves creating a series of interlocking loops to form a chain-like pattern. It is commonly used in decorative stitching, outlining shapes, or creating outlines in hand embroidery and sewing projects. The chain stitch is versatile and can be easily done by hand or with a sewing machine.
Back stitch
Back stitch is a hand sewing stitch commonly used in embroidery and garment construction. It involves creating small, even stitches, with each stitch overlapping the previous one, resulting in a strong and secure seam. The backstitch is often used for creating outlines or decorative stitching, as it provides good control and durability.
Brick stitch
Brick stitch is a traditional bead weaving technique where beads are arranged in a brick-like pattern. It involves threading beads onto a needle and weaving them together to create rows of beads that resemble bricks. This technique is commonly used in jewelry making and can create intricate and textured designs.
Woven wheel
The woven wheel is a traditional textile technique where yarns or fibers are interlaced in a circular pattern to create a wheel-like design. It is commonly used in weaving and can be seen in various forms such as tapestries, rugs, and baskets. The intricate and symmetrical nature of this technique adds a unique aesthetic to the finished product, showcasing the artisan's skill and creativity.
Diamond stitch
The diamond stitch is a decorative embroidery stitch that creates a series of diamond shapes. It is often used in traditional hand embroidery techniques to add texture and interest to fabric. By forming diagonal lines and crossing them with horizontal and vertical stitches, the diamond stitch creates a visually appealing pattern that can be used on a variety of projects, such as clothing, accessories, or home decor items.
Flying cross stitch
Flying cross stitch is a technique in which intricate designs are created by stitching multiple threads onto a fabric. It involves creating patterns that resemble flying objects, such as birds or planes, through careful placement and arrangement of stitches. This technique allows for the creation of unique and whimsical cross stitch projects that add a touch of whimsy and movement to traditional designs.
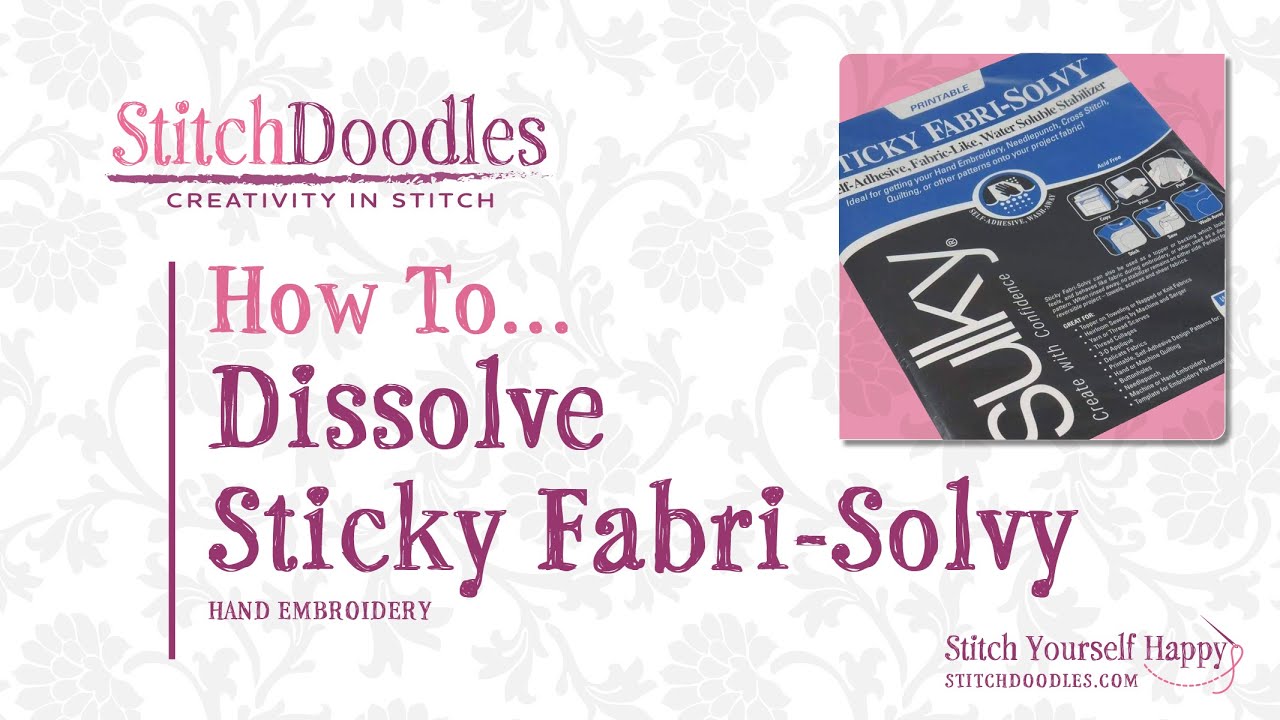
How do I use Sticky Fabri Solvy?
Sticky Fabri Solvy is a versatile and easy-to-use water-soluble stabilizer, ideal for embroidery projects. Here's how you can effectively use it, this is only to be aused as a guide please read instructions supplied with product before use:
What is Sticky Fabri Solvy?
Sticky Fabri Solvy is a stabilizer that helps keep fabric steady while you embroider. It is adhesive-backed, which allows it to stick to the fabric without the need for basting or pinning. After the embroidery is complete, it can be easily removed by rinsing in water, making it perfect for intricate and delicate designs.
Steps to Use Sticky Fabri Solvy for Embroidery
1. Prepare Your Materials
- Fabric: Choose the fabric you want to embroider on.
- Sticky Fabri Solvy: Ensure you have a piece large enough to cover the embroidery area.
- Embroidery Design: Print or draw your design on the stabilizer.
2. Apply the Sticky Fabri Solvy
- Cut the Stabilizer: Cut a piece of Sticky Fabri Solvy slightly larger than your design.
- Peel and Stick: Peel off the paper backing from the stabilizer and stick it to your fabric, ensuring it's smooth and without wrinkles. The adhesive should hold it firmly in place.
3. Transfer the Design
- Draw or Print: You can either draw your design directly onto the Sticky Fabri Solvy or print your design onto it using an inkjet printer. This makes it easy to follow the pattern as you embroider.
4. Embroider
- Set Up Your Hoop: Place your fabric with the stabilizer in an embroidery hoop. Ensure it is taut and secure.
- Start Embroidering: Follow your design and embroider as usual. The Sticky Fabri Solvy will provide the necessary stability, preventing puckering and shifting.
5. Remove the Stabilizer
- Rinse with Water: Once you have completed the embroidery, gently rinse the fabric in warm water. The Sticky Fabri Solvy will dissolve completely.
- Dry: Lay the fabric flat to dry, ensuring it remains smooth and flat.
Tips for Using Sticky Fabri Solvy
- Test with Your Fabric: Before starting your main project, do a small test to ensure the stabilizer works well with your fabric and thread.
- Secure Edges: If the edges of the Sticky Fabri Solvy start to lift during embroidery, use additional small pieces to secure them.
- Gentle Rinsing: Avoid wringing or scrubbing the fabric when rinsing to prevent distortion of your embroidery.
- Storage: Store unused Sticky Fabri Solvy in a cool, dry place to prevent the adhesive from drying out or becoming less effective.
Using Sticky Fabri Solvy can make the embroidery process smoother and more precise, especially for detailed or delicate designs. Its easy removal ensures that your final piece looks clean and professional.