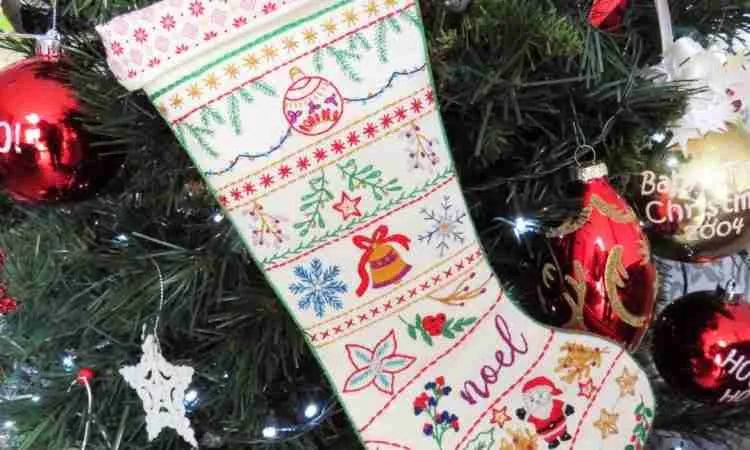
Why Hand Embroidery is the Perfect Craft to Learn
Hand embroidery is one of those rare crafts that rewards you from the very first stitch. There's no expensive machinery, no complex software — just a needle, thread, and fabric, and the quiet satisfaction of watching a design emerge beneath your fingertips. Whether you're looking for a mindful hobby, a creative outlet, or a way to make truly personal, handmade gifts, embroidery offers all of this and more.
At StitchDoodles, we believe every stitcher starts somewhere. This guide walks you through everything you need to begin — confidently and without overwhelm.
What You'll Need to Get Started
You don't need much to begin hand embroidery, but the right tools make a real difference:
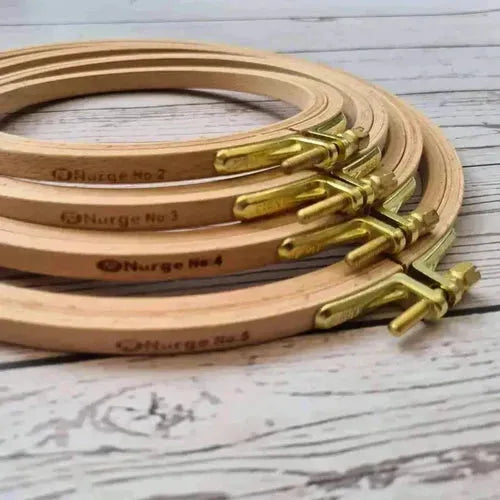
- Embroidery hoop — holds your fabric taut as you stitch. A 6" wooden hoop is ideal for beginners.
- Embroidery needle — look for a crewel or embroidery needle, sizes 3–9. A larger eye makes threading easier.
- Fabric — plain weave cottons like calico or quilting cotton are ideal. Avoid stretchy fabrics until you're more confident.
- Stranded cotton thread — six-strand embroidery floss gives you flexibility to split strands and vary line weight.
- Small sharp scissors — precision matters when clipping thread close to the fabric.
- A design to stitch — this is where the fun begins.
Choosing Your First Design
The biggest mistake beginners make is choosing a design that's too complex. Start small: a simple botanical motif, a single flower, or a few flowing leaves. You want to practise your stitches without the frustration of a pattern that demands techniques you haven't learned yet.
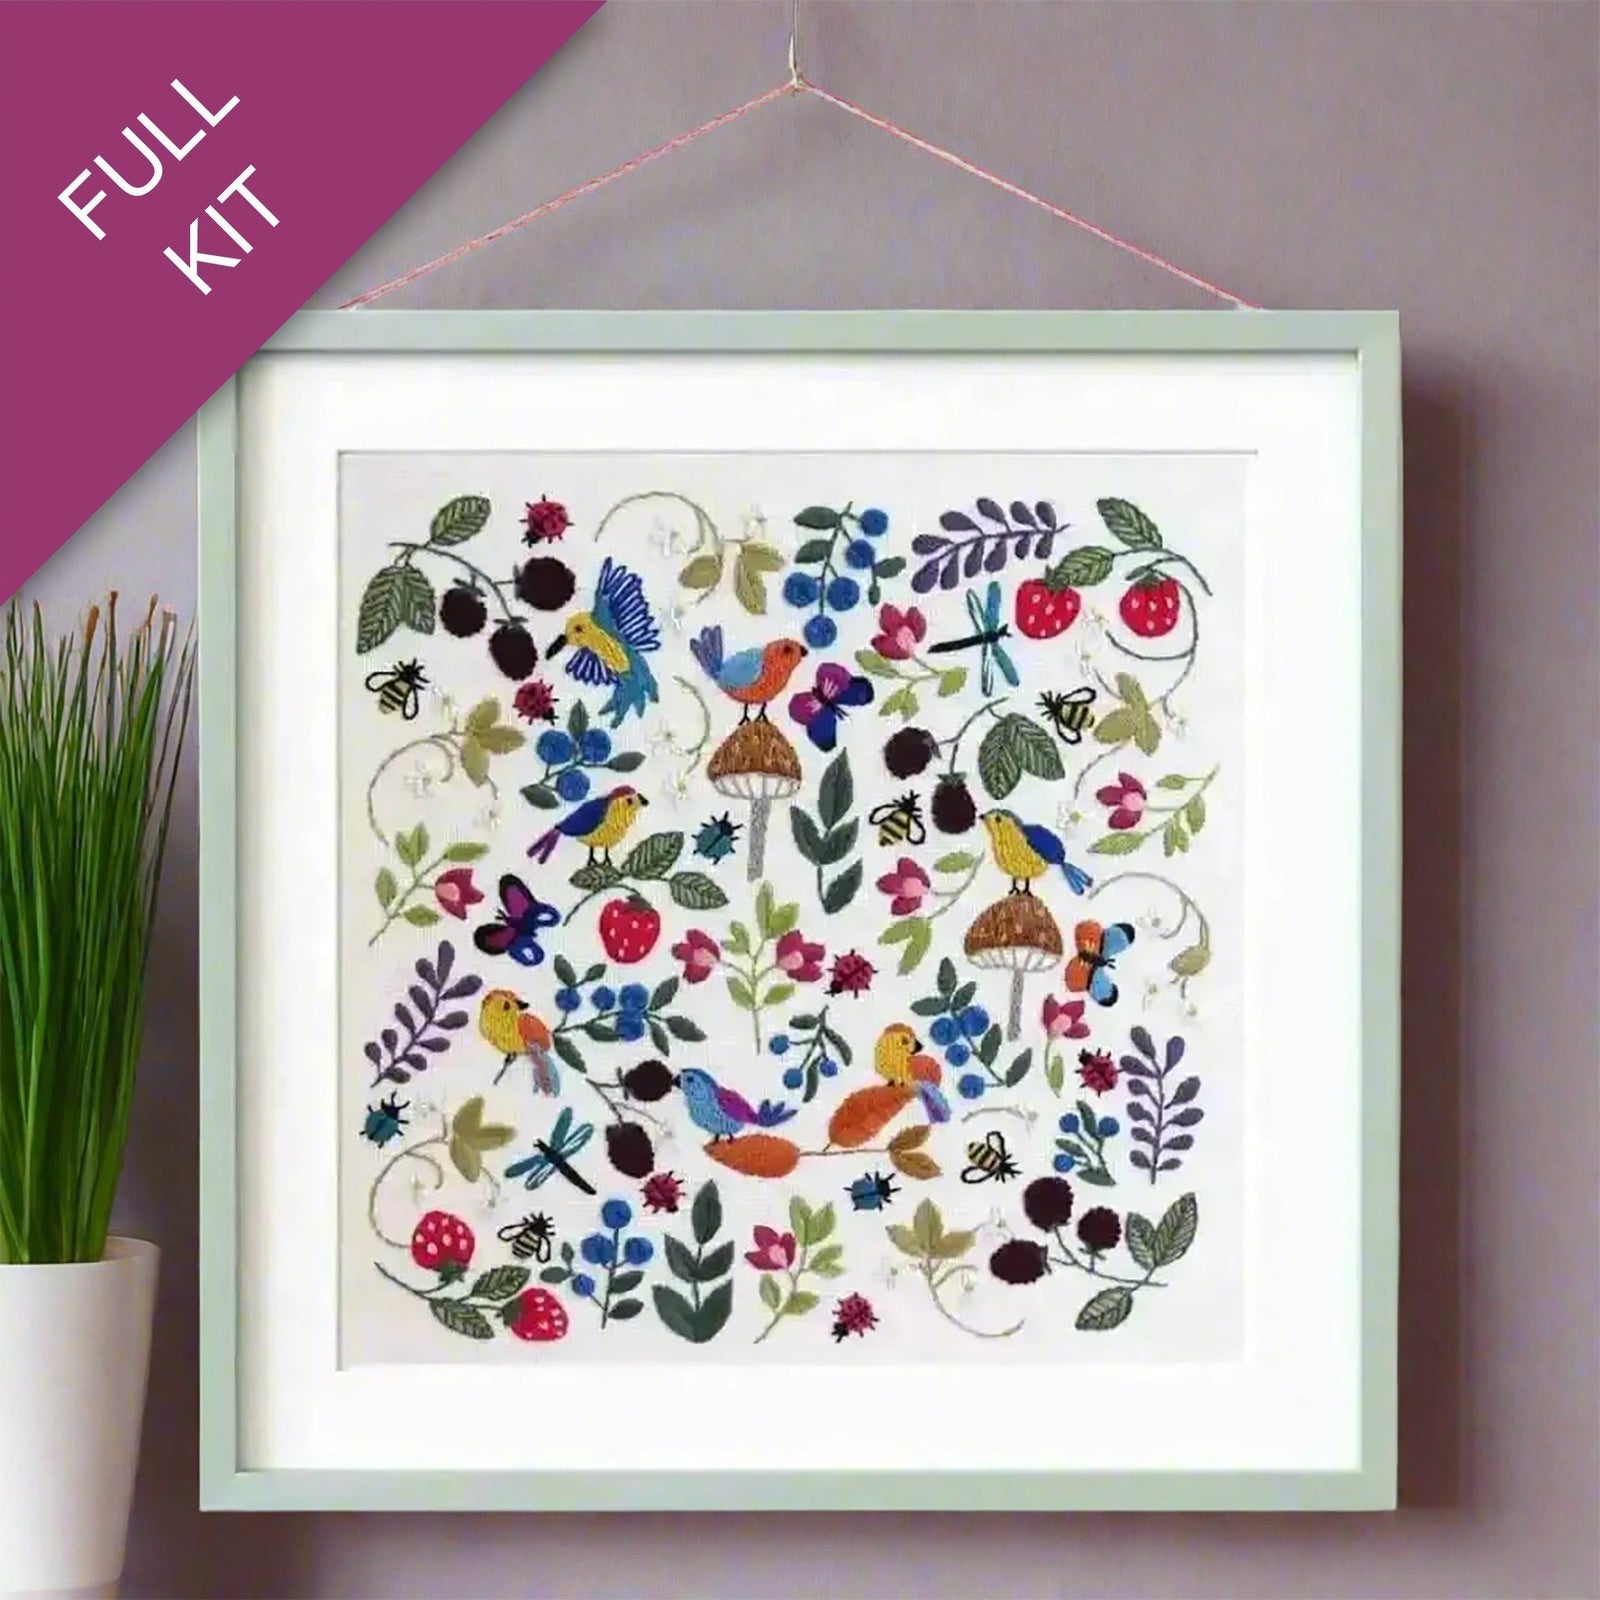
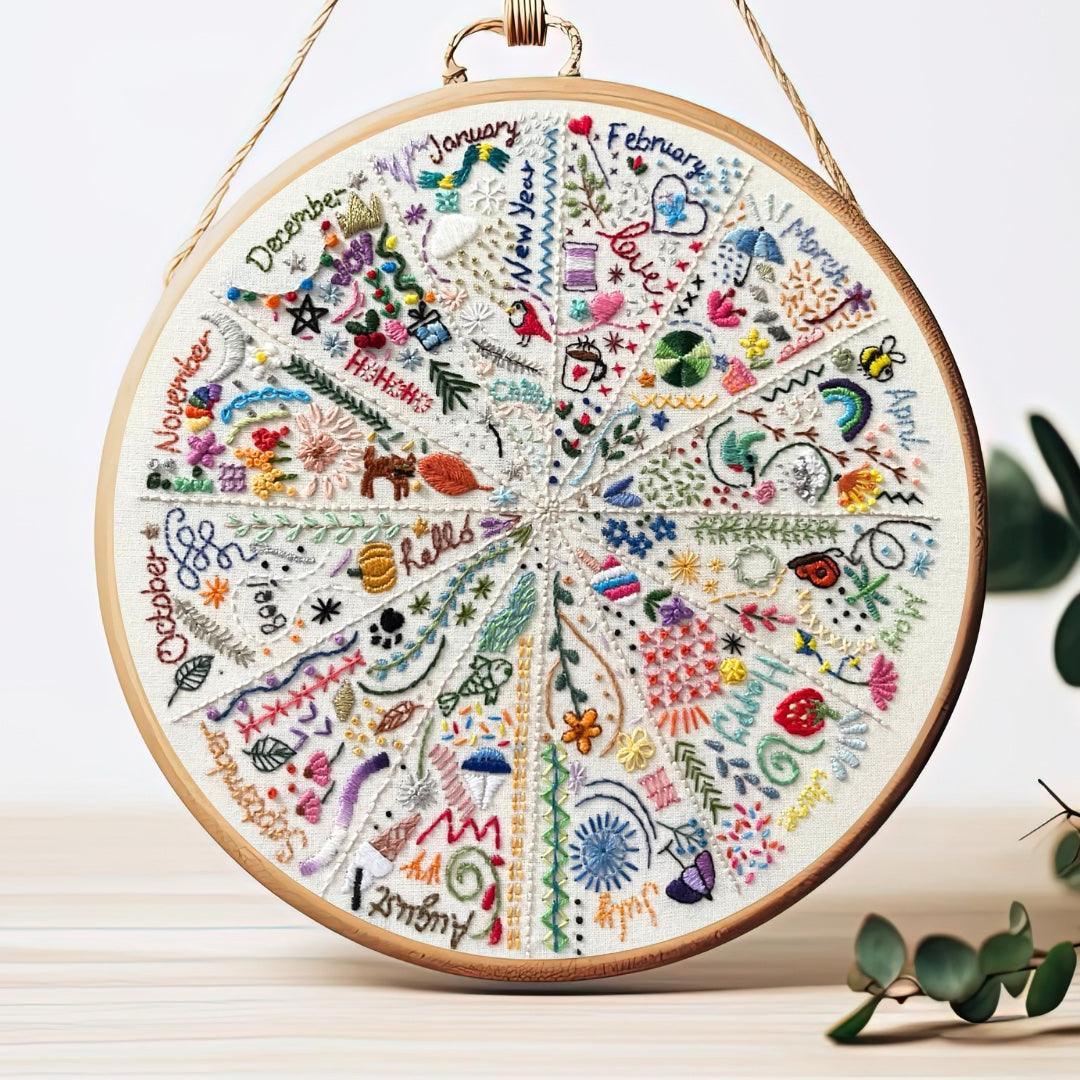
A brilliant shortcut? A structured sampler. Our Card Deck Sampler gives you a curated collection of designs specifically chosen to build your skills stitch by stitch — each one a manageable project that adds up to a complete repertoire. Similarly, the RSN Stitchbank Card Deck — developed with the Royal School of Needlework — is an exceptional reference for learning stitches with professional guidance built in.
The Essential Beginner Stitches
You only need a handful of stitches to create beautiful embroidery. Master these five and you'll be able to tackle most beginner patterns:
- Running stitch — the simplest stitch of all; great for outlines and filling.
- Back stitch — creates a solid, continuous line; the backbone of most outline work.
- Satin stitch — fills shapes with smooth, parallel stitches; wonderful for petals and leaves.
- French knot — creates textured dots; perfect for flower centres and berries.
- Stem stitch — a twisted line stitch ideal for, as the name suggests, flower stems and curved lines.
Don't try to learn them all at once. Pick one per session, practise on a scrap of fabric, and only move on when it feels natural.
How to Transfer a Design to Fabric
There are several reliable methods for getting your design onto fabric:
- Light box or window tracing — tape your design to a window or light box, lay fabric over it, and trace with a water-soluble pen.
- Transfer paper — place dressmaker's carbon paper between the design and fabric, then trace with a stylus.
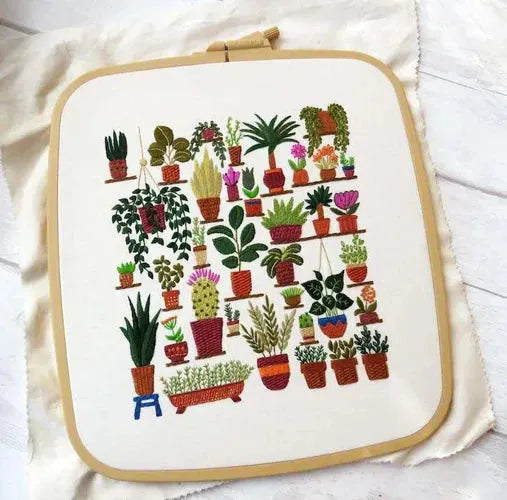
- Pre-printed fabric panels — the easiest option of all. Our printed fabric panels arrive with the design already on the fabric, ready to hoop and stitch. No tracing, no fuss.
Setting Up Your Hoop
Proper hoop tension is one of the small things that makes a big difference to your finished work:
- Separate the inner and outer hoop rings by loosening the screw.
- Lay your fabric over the inner hoop, centring your design.
- Press the outer hoop down over the fabric.
- Gently pull the fabric edges outward to remove any slack, then tighten the screw.
- Aim for a taut, drum-like tension — tight but not distorting the weave.
Threading Your Needle and Starting a Stitch
Cut a length of floss no longer than 45cm (about 18") — longer threads tangle and fray. Separate out the number of strands you need (two strands is standard for most beginner work) and thread your needle.
To start without a knot, use an away waste knot: make a small knot, insert the needle from the top of the fabric a few centimetres from your starting point, then stitch toward it. Once you've worked over the thread tail, snip the knot away. This gives a clean, professional finish from your very first stitch.
Your First Project: A Simple Floral Motif
Ready to stitch? Here's a simple starter project:
- Draw or trace a five-petal flower with a circular centre onto your fabric.
- Outline each petal in back stitch using two strands of floss.
- Fill alternating petals with satin stitch in a complementary colour.
- Add a cluster of French knots to the centre.
- Work the stem and any leaves in stem stitch.
This single project gives you practice in five foundational stitches — and leaves you with something genuinely beautiful to frame or gift.
Keep Learning, Keep Stitching
The best thing about hand embroidery is that the learning never stops — and every new stitch opens up new possibilities. Browse our full range of Seasonal Splendour kits and patterns for inspiration at every skill level, and follow The Stitch Journal for step-by-step tutorials, stitch-alongs, and thread guides throughout the year.
Happy stitching.